
Deciphering the DIP Switch Functions on Unmanaged Media Converters
How to manage the fiber media converter? The managed fiber media converter supports carrier-grade network management. And the unmanaged one with “plug and play” feature can also perform some simple functions as the managed converter does, but with the help of DIP switch on it.
What Is the Unmanaged Media Converter?
Before we dive into the function of DIP switches, let's take a brief look at what an unmanaged media converter is. An unmanaged media converter is a network device that is used to convert the media type of a network connection (e.g. copper to fiber, multimode to single-mode, and vice versa). Unlike managed media converters, unmanaged media converters do not have built-in management functions or features. They typically operate as plug-and-play devices and require minimal configuration. It provides a simple and cost-effective solution for extending network connectivity over different media types.

What Is the DIP Switch on Unmanaged Media Converter
DIP switch stands for dual in-line package switch. It is a simple and cost-effective component that can help select and change between various hardware or device options. Users just need to toggle each switch between on and off positions to enable and disable certain functions.
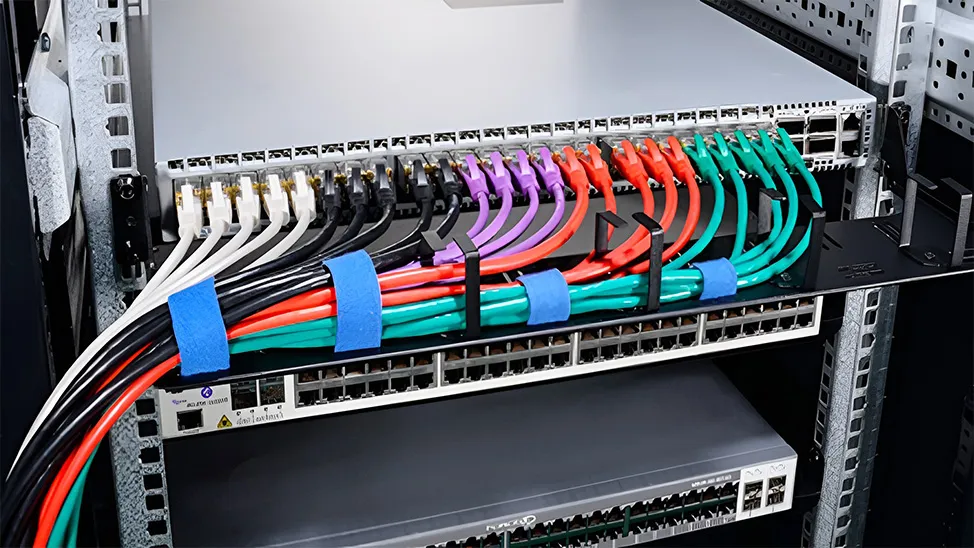
When applying to the unmanaged media converter, it is usually placed at the bottom of the case. DIP switches on different unmanaged media converters may differ in the number of tiny toggle switches which enable the control over the precise function that the converter possesses. The more toggle switches are, the more functions the media converter can realize. The common unmanaged media converter dip switch settings include Link Fault Pass-through, port isolation, jumbo frame, and forward mode selection.

The following are a few important purposes for the DIP switch function in media converters:
Jumbo Frame
A jumbo frame is an Ethernet frame that carries a payload greater than the standard maximum transmission unit (MTU) of 1,500 bytes. It can be as large as 9,000 bytes. To squeeze larger payload into each frame, the media converter can have fewer frames to process. Therefore, enabling jumbo frames can improve network performance by making data transmissions more efficient. Just pull the switch to allow the passage of the jumbo frame under certain size (like 9k bytes; it may vary from different vendors).
Port Isolation
In general, the TP1 and TP2 on the media converter can receive the same information. By enabling the port isolation, TP1 and TP2 can be separated with regard to the data transmission, improving the network security. One can use the DIP switch to enable (ON) or disable (OFF) the port isolation between two copper ports.
FX 100M
This function is to force the fiber optic port to run at 100M speed when the terminal device only supports 100M.
Forward Mode Selection
Commonly seen modes are Store and Forward, Modified Cut Through, Smart Pass Through, and Pass Through. Here mainly introduces the frequently used Store and Forward, and Modified Cut Through modes.
Store and Forward
In the Store and Forward mode, the entire frame will be stored in the memory for inspection on its destination address, source address, and the CRC. If no errors are present, the frame is forwarded to the appropriate port. This process ensures that the destination network is not affected by corrupted or truncated frames, but may cause latency. The realization of this mode won’t take much effort either, just follow the user instructions to make changes on the DIP switch.
Modified Cut Through
In Modified Cut Through mode, the frame will be forwarded as soon as the destination address is identified. This mode allows lower latency and saves buffer space. However, the drawback is that network performance may be impacted by forwarding corrupted or truncated frames which cannot be detected by reading only the destination address. These bad frames can create broadcast storms wherein several devices on the network respond to the corrupted frames simultaneously. An unmanaged media converter can run in this mode with the DIP switch on it.
Link Fault Pass-through
Link Fault Pass-through (LFP) can provide constant monitoring of the links connected to the media converters. When a device is connected to the media converter, and the copper line or fiber line drops the link, then the media converter will disconnect the transmission link on the opposite interface. One can use the DIP switch to enable (ON) or disable (OFF) the LFP function on an unmanaged fiber media converter.

Benefits of DIP Switches on Unmanaged Media Converters
DIP switches on unmanaged media converters offer several advantages that can benefit customers. The following are some of the key advantages:
Configuration Flexibility
DIP switches allow users to fine-tune the settings of unmanaged media converters to their specific requirements. These switches provide a simple and effective way to adjust parameters such as link mode, transmission speed, or other configuration options. This flexibility allows customers to optimize the performance of their network connection based on their unique needs.
Easy Troubleshooting
DIP switches on unmanaged media converters often include diagnostic features that help troubleshoot network problems. By switching the switch into diagnostic mode, users can gain insight into the health and performance of the network connection. The feature simplifies the identification and resolution of potential problems, saving time and effort in maintaining and managing the network.
Fault Recovery
In the event of a network failure or malfunction, DIP switches can be used to enable a fault recovery mechanism on unmanaged media converters. These switches allow the user to implement link-through fault detection and recovery features. By activating the appropriate switch, the media converter can automatically detect and bypass the failed link, ensuring continuous network connectivity and minimizing downtime.
Conclusion
An unmanaged media converter equipped with the DIP switch can be managed manually by toggling the corresponding button, thus enabling full control over the precise function that the device will perform in a range of defined scenarios or applications. One thing to remember is that it is necessary to observe and remain within the manufacturer’s given specifications, since the operation and function of the DIP switch on each media converter vary.
Related Article: What Are FEF and LFP on Media Converter


Email Address


PoE vs PoE+ vs PoE++ Switch: How to Choose?
May 30, 2024


-