How to Install Patch Panel and Switch?
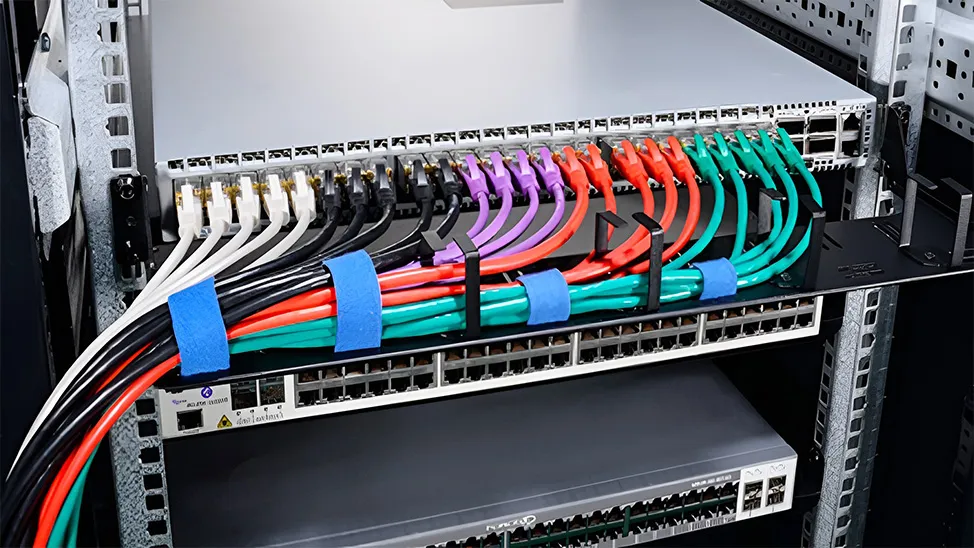
Patch panel and Ethernet switch are commonly used to connect all devices in data centers. They are usually mounted on the server rack to perform the relevant functions. Many people are distressed by the installation of patch panel and switch in their telecommunication room, and crazy about the cable spaghetti from the patch panel to switch. In practice, an ideal cable management system could deal with this embarrassing situation. Consequently, a well-designed structured cabling system is in place.
Patch Panel vs. Switch
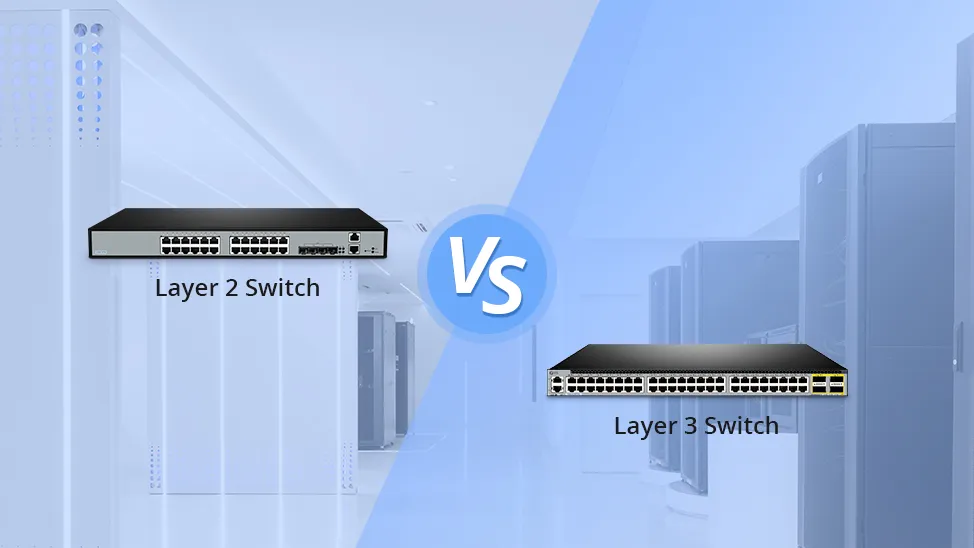
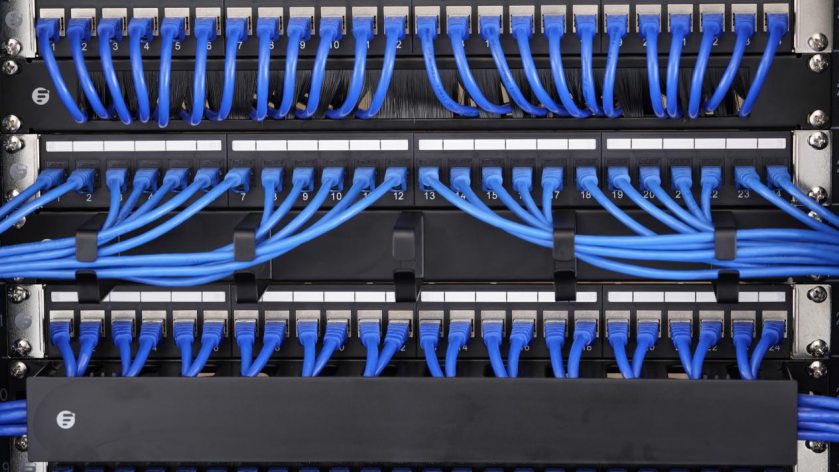
From the physical appearance, patch panel and switch look similar in that they present as rows of sockets in a rack. In fact, a patch panel is a passive device that has a row of ports, which is used for cable management to bundle multiple network ports together to connect incoming and outgoing cables. The ability to label individual cable runs in a patch panel creates a clean and organized way of identifying signal flow and troubleshooting technical problems. Also, patch panel avoids the damage of switch port due to the multiple plugs and pulls of the cables.
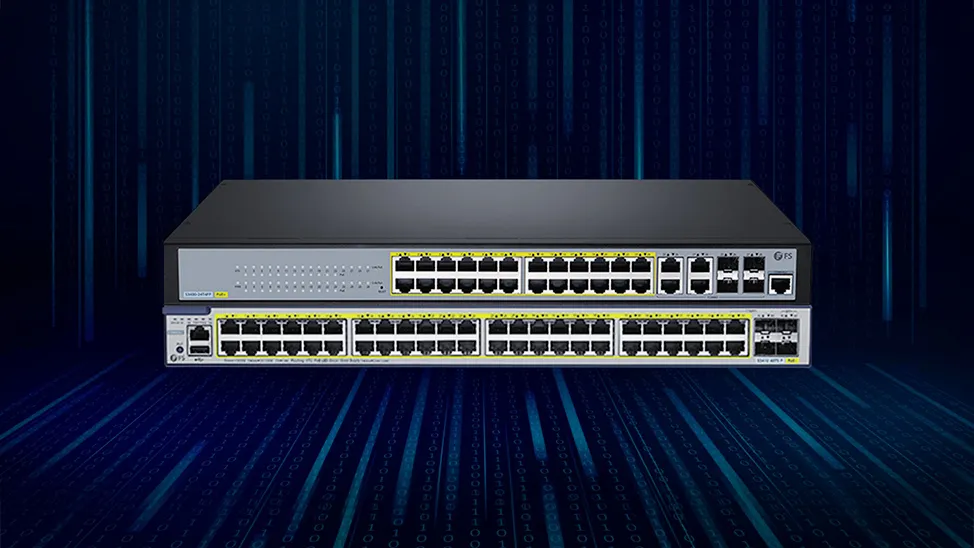
On the other hand, a network switch has a bunch of Ethernet ports, but it is an active device that connects devices together on a computer network by using packet switching to receive, process, and forward data to the destination device. In the case of structured cabling, the switch ports can be connected with the ports on the patch panel, allowing the Ethernet devices to be networked together.
Installation Steps for Patch Panel and Switch
When installing patch panel and switch, we need the following tools: wire crimper, cable tester, philips screwdriver,straight screwdriver and module punch tool. Here are the main steps for your reference.
Preparation
Before switch and patch panel installation, rack height and layout must be considered so that users can determine how many rack units are available for a patch panel and switch. Then ensure the patch cords are matched to the installed cables because optical fiber cords of different types should not be mixed.
Then check whether the patch panel, accessories (including the jumper rack, cable loop, switch, etc.) are complete and determine where to place them. You’d better use a drawing to plan in advance. In general, there are three positions for the network patch panel to install in the stand column of rack, which depends on your cabling.
-
When adopting ground outlet, the cables usually enter inside the rack from its bottom. So the patch panel should be mounted in the lower part inside the rack.
-
When employing bridge outlet, the cables go through the rack from its top. The patch panel should be installed in the upper part of inside the rack.
-
When cables come in the rack from its side, the patch panel should be installed in the middle of the rack.
Installation
-
Hold the drawer of patch panel in an upwards position and pull it forwards. Use appropriate machine screws to attach the patch panel assembly to the rack.
-
Make up the patch cables of the desired length and cut each cable into a suitable port, then use a strap to secure the cables.
-
Map out which switch port is connected to which patch panel port. (How power cables are routed should be considered.)
-
Attach the patch panel and switch to a rack-mounted floor stand in the wiring closet.
-
Run the prepared cables to connect patch panel port to the switch port respectively.
-
Install horizontal and vertical cable management, and Velcro cable ties to bundle the cables together for easier access in the future.
-
Label each cable with the same tag on both ends for identification.
Validation
The final step is to make a visual inspection to make sure all things are in a safe place. This step can not be ignored since safety comes first.
Cable Management from Patch Panel to Switch
Horizontal Cable Management
Horizontal cable management can be used to support a pathway for patch cables between the feedthrough patch panel and switch. The horizontal cable management panel has various style for multiple applications: designed with lacing bar, D-rings, finger duct, brush strip, and end ring. They can be assembled randomly to simplify cabling efficiently. The following video shows the 1U horizontal cable manager with end rings manager to neat and clean the messy rack.
Vertical Cable Management
Vertical cable management also addresses today’s cable routing demands. 3" single D-ring vertical cable manager and 3" wide plastic vertical cable manager with bend radius fingers are most commonly used between the patch panel and switch. They help to provide proper bend radius support for cables. Come with cable ties, it provides users with a neat and organized cabling system.
Cable Ties & Cable Labels
Cable ties and cable labeling can also help make the installation efficient. When a network system is constructed, large amounts of cables are built into the rack and routed where they need to go with devices. The Velcro cable ties are the most common tools for holding cables together. Meanwhile, cable labels can provide facilities with many benefits that will help increase efficiency, eliminate waste, improve safety, and generally make everything run more smoothly.
Conclusion
Patch panel and switch allow for expansion of traceable access points, which provides a robust and reliable management solution. Therefore, a proper installation for patch panel and switch plays a decisive role in the whole cable management. From patch panel to switch, a comprehensive line of cable management tools is used for protecting and supporting cables. For more information, please visit www.fs.com.
Related Article: Cable Management for a Small LAN with a 24-port Patch Panel
You might be interested in
Email Address

-
PoE vs PoE+ vs PoE++ Switch: How to Choose?
May 30, 2024


