
The Complete Guide to Indoor Wi-Fi Access Point Installation

A proper indoor Wi-Fi access point installation is essential to ensuring optimal coverage, signal strength, and overall network performance. Whether you are setting up a network in an office, conference center, or any other indoor space, proper installation is key. This guide will walk you through the step-by-step process of installing your indoor Wi-Fi AP, covering both direct installation methods and installations that require additional mounting accessories.
Direct Wi-Fi Access Point Installation
For those who do not need to resort to additional mounting accessories, wall-mounting and ceiling-mounting are two common and effective installation methods. The next steps will take a ceiling-mounted installation as an example to show how to complete the installation without the use of additional accessories.
1. Site Environment
-
The weight-bearing capacity of the installation structure should be at least four times the total weight of the equipment and installation components.
-
Installation in environments with standing water, seepage, dripping, condensation, etc., is strictly prohibited.
-
Avoid installing other Wi-Fi devices or antennas within a 7m radius of the equipment.
-
Avoid installing other RF antennas within a 5m radius of the equipment.
-
Keep the equipment away from electronic devices that may cause interference signals, such as microwave ovens.
2. Material Preparation
Before starting the installation, please make sure that you have the following items:
| Installation Tool |
Product & Accessories
|
|
|
3. The Process of Ceiling-Mounting
-
Use a marker pen to mark the location of the installation holes on the ceiling.
-
Use an impact drill to drill holes in the ceiling according to the marked positions.
-
Use a hammer to tap the expansion bolts vertically into the hole.
-
Fix the mounting bracket on the ceiling with four screws.
-
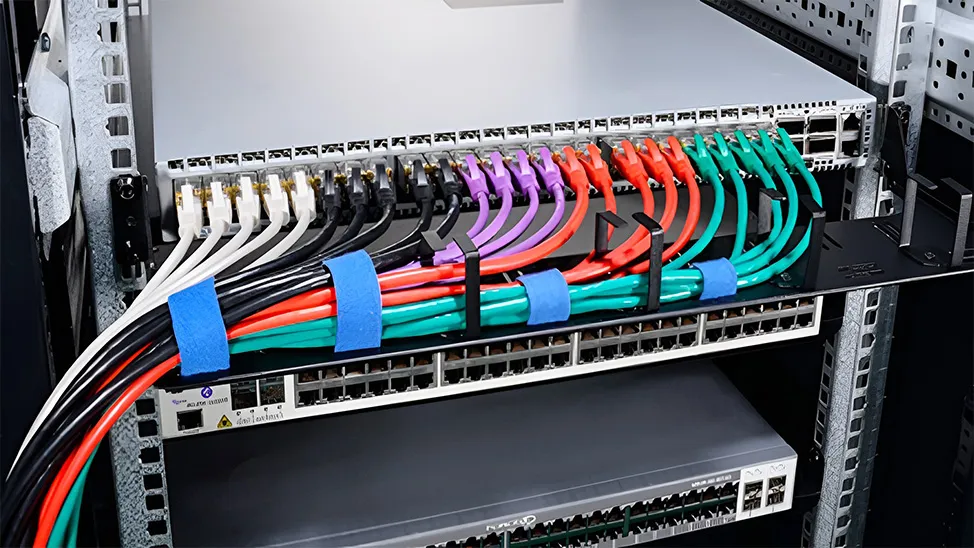
Insert the Ethernet crystal head into the PoE port of the AP device.
-
Align the hook on the back of the AP with the bracket's fastening hole, and then slide the AP until it snaps into place.
4. Check and Debug
-
Check if the AP and accessories are installed securely.
-
Power it with a PoE switch and observe if it starts up.
-
Connect the business port of the AP with an Ethernet cable and configure the IP address of the PC as "192.168.1.x" ("x" is any number from 2 to 254).
-
Use a browser or CRT to log in to 192.168.1.1 and check if the device runs normally.

Watch our detailed installation guide video visually to learn more about how to complete the proper indoor Wi-Fi access point installation step-by-step.
Wi-Fi Access Point Installation with Mounting Accessories
The following sections provide detailed instructions for installations requiring additional support or specific mounting scenarios, such as T-shaped keel ceiling, beams, triangle ceiling, or threaded rods.
Since T-shaped keel ceiling installation uses the AP-N-MNT-A mounting bracket, and beam, triangle ceiling, and threaded rod installations all use the AP-N-MNT-B mounting bracket, the following sections will focus primarily on detailed installation instructions for T-shaped keel ceiling and beam installations.
T-Shaped Keel Ceiling Mounting (Using Bracket AP-N-MNT-A)
1. Site Environment
-
The AP must be installed on the main T-beam.
-
To determine the model of the T-shaped keel, AP-N-MNT-A supports a T-shaped keel with sizes 15MM, 24MM, and 38MM.
-
The weight-bearing capacity of the installation structure should be at least four times the total weight of the equipment and installation components.
-
Installation in environments with standing water, seepage, dripping, condensation, etc., is strictly prohibited.
-
Avoid installing other Wi-Fi devices or antennas within a 7m radius of the equipment.
-
Avoid installing other RF antennas within a 5m radius of the equipment.
-
Keep the equipment away from electronic devices that may cause interference signals, such as microwave ovens.
2. Material Preparation
Before starting the installation, please make sure that you have the following preparations:
| Installation Tool |
Product & Accessories
|
|
|
3. The Process of T-Shaped Keel Ceiling Mounting
-
Use one M3 screw to secure the slider to the bracket.
-
Use four M4 screws to attach the AP-N-MNT-A bracket to the AP mounting bracket.
-
Snap the bracket into the T-shaped keel and slide the slider inward along the slot until it clamps the T-shaped keel.
-
Lock the T-shaped keel with one M3 screw.
-
Drill holes in the ceiling near the keel locking screws for the Ethernet cable to pass through, and insert the Ethernet crystal head into the PoE port of the AP device.
-
Align the hanging clasps on the back of the main unit with the buckle holes of the hanger, push the main unit into the hole clasps in the opposite direction of the arrows on the hanger, and fasten them, making sure that all four hanging tops are hung into the mounting holes.
4. Check and Debug
-
Check if the AP and accessories are securely installed.
-
Power on the device and observe if it starts up.
-
Configure the IP address of the PC as "192.168.1.x" ("x" is any number from 2 to 254).
-
Use a browser or CRT to log in to 192.168.1.1 and check if the device runs normally.
If you would like to learn more about the details of T-shaped keel ceiling mounting, watch the following video:
Beam Mounting (Using Bracket AP-N-MNT-B)
1. Site Environment
-
The weight-bearing capacity of the installation structure should be at least four times the total weight of the equipment and installation components.
-
Installation in environments with standing water, seepage, dripping, condensation, etc., is strictly prohibited.
-
Avoid installing other Wi-Fi devices or antennas within a 7m radius of the equipment.
-
Avoid installing other RF antennas within a 5m radius of the equipment.
-
Keep the equipment away from electronic devices that may cause interference signals, such as microwave ovens.
2. Material Preparation
Before starting the installation, please make sure that you have the following preparations:
|
Installation Tool
|
Product & Accessories
|
|
|
3. The Process of Beam Mounting
-
Pre-thread two steel wire ropes through the AP-N-MNT-B.
-
Use two steel wire ropes to secure the AP-N-MNT-B bracket to the crossbar, pulling the ropes as tight as possible.
-
Use four M4 screws to mount the AP mounting bracket onto the AP-N-MNT-B bracket.
-
Insert the Ethernet crystal head into the PoE port of the AP device.
-
Align the hanging clasps on the back of the main unit with the buckle holes of the hanger, push the main unit into the hole clasps in the opposite direction of the arrows on the hanger, and fasten them, making sure that all four hanging tops are hung into the mounting holes.
4. Check and Debug
-
Check if the AP and accessories are securely installed.
-
Power on the device and observe if it starts up.
-
Configure the IP address of the PC as "192.168.1.x" ("x" is any number from 2 to 254).
-
Use a browser or CRT to log in to 192.168.1.1 and check if the device runs normally.
If you would like to learn more about the details of Beam Mounting, watch the following video:
Conclusion
In this comprehensive guide to indoor Wi-Fi access point installation, we've outlined the step-by-step processes for both direct installations and installations requiring mounting accessories. We've covered key aspects, such as site environment requirements, necessary tools, and post-installation checks. By following the instructions provided, you can ensure that your Wi-Fi AP is securely installed for optimal performance.
If you encounter any specific installation questions or require further assistance, don't hesitate to reach out to FS experts. We are here to help you achieve the best possible for your indoor Wi-Fi access point installation.


Email Address


PoE vs PoE+ vs PoE++ Switch: How to Choose?
May 30, 2024


-