
Wiring Your Home Network: A Comprehensive Guide
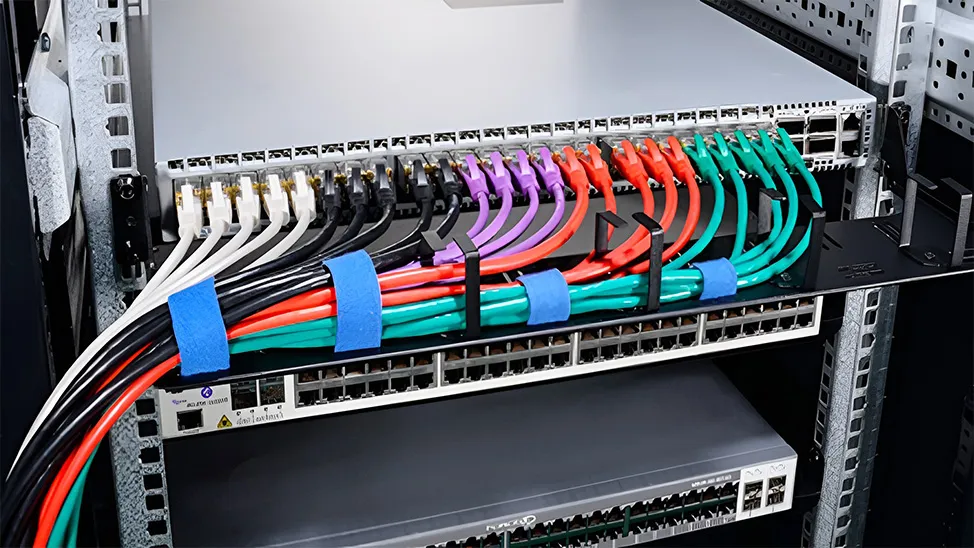
Although wireless networks and mesh networks are getting better every year, a home network wiring system to link your house's electronic devices will give you the best speed, lowest latency, and most robust network connection in your house. The main issue with wired ethernet connections is that wires must be run through your home, ideally through the walls. If you are not remodeling your house, this might be a bit difficult. In this post, I will assist you in selecting the appropriate materials, lead you through the process of pulling network wires, and provide some tips.

Making Plans for Your Home Network Wiring
A project should always begin with a plan. We need to know not just where we want our wired ethernet connections to be put, but also how to get to them once they’ve been installed. I've divided the planning process into a few steps:
-
Determine the locations of the ethernet connections:
Remember that youngsters grow older and may get a computer or a game console for their room. Consider a location for a network printer, and don't forget about the access points.
-
Where should the router and switches be placed?
If it is convenient, you may set a switch on each floor, or you can route all the lines to one area. I like to have all network connections in one location so that you may use a larger switch or better utilize the switches.
-
What is the easiest approach to install the wire?
It's a good idea to run wires into your attic or crawl space.
-
How many ethernet ports will you need?
We recommend at least two ethernet ports for each location. The UTP cables don’t cost that much, and the additional cost for an extra ethernet port is minimal. But adding one later will cost you a lot more work and probably money.
Choose Suitable Ethernet Cable for Your Home Network
So, now that the plan is ready, we'll look at what we need. The most significant component, of course, is the ethernet wire. Ethernet cables are categorized (Cat). The categories define the cable's speed, or how quickly data can be sent over the connection. When choosing a cable for your home ethernet wiring, consider not just the speed but also the cable's quality. CCA (Copper Clad Aluminium) cables are a waste of money. To attain the optimum performance and speed from a UTP connection, it must have extremely low resistance, which can only be obtained with complete bare copper cables.
-
Cat6 or Cat6a Ethernet Cable
These days cat6 UTP cables are the minimal standard to use in installations. Now, the difference between cat6 and cat6a cables is easily confused, and cat6a is much more expensive than cat6. How to choose between these two cables requires us to understand the differences between them and make a decision based on actual circumstances. Cat6 and Cat6a cables are both constructed of copper and can reach speeds of up to 10 Gbps. They also have a larger bandwidth, allowing for more data to be sent at the same time. Because cable lengths will not exceed 37 meters, you will receive 10 Gbps. With 250 MHz of bandwidth, your home network will be fine. Therefore, cat6 ethernet cable is generally more than adequate for household use.
-
Solid or Stranded Ethernet Cable
Next, there is the option of stranded or solid core wire. This means that the inside of your wire is made up of either braided strands or one solid piece. What this comes down to is how much maneuvering you will need to do with the wire. If you're going to be fishing it through tight spaces, a solid piece of wire is much easier to move around in a tight space because it is rigid. The drawback to the solid core is that it is harder to connect to the wall outlet or plastic jack. Stranded wire is easier to connect to a wall outlet, but it's pretty flimsy if you're trying to push it through crevices.

-
Plenum or Riser Ethernet Cable
As with plenum cables for HVAC ducts, certain nations mandate the usage of Cat6 Riser cable (CMR) between drywalls or between floors. CMR cables, like Plenum, are flame resistant to prevent fires from spreading, for example, between floors. As for the price, CMR cables are less expensive than Plenum cables and usually sufficient for home usage in most countries.
Home Ethernet Wiring Steps
Since you've made a decision about the Ethernet cable types you will use, then you need to know how to wire them. Usually, this job includes installing the wall plates, running the cable, and connecting the cables to jacks. Before the installation, remember to check that you have all the necessary equipment to do the job, that way you won’t have to stop in the middle of the process because something is missing. Basic tools are listed in the table below for your reference.
| Cable Assemblies | Network Tools & Testers |
|---|---|
| Inline Couplers | Keystone Wall Plates |
| Keystone Jacks | Cable Crimping Tools |
| Connectors/Plugs | Cable Strippers |
| Boot Covers | Punch Down Tool |
-
Wall Plates Installation
Look at your sketch and find where to install the wall plates. First, line up and measure the size of the wall plate. Then draw the outlines on the wall to prepare for cutting the hole which is the most difficult during this process. And use a stud finder prior to make sure that you don’t hit a stud. The next step is to cut the hole. In this step, just leave the wall plates off.

-
Network Cable Installation
Before running your cable, make a measurement to see the cable length for each run. You can measure from floor plans, run one, etc. If you run one cable to each room from the distribution room, gently pull it out and make other cable run like it. Then clear the path in the walls and drill holes. Once you have drilled the holes you can string out the cable and ensure no extra cable is tucked in the wall. After that, you can label cables on both ends and measure the exact cable length. Remember to leave spare cables for stripping and crimping.
-
Connect the Cable to Jacks
Now you need to wire the cables. Strip about one inch of the outer jacket off the cable and push the wires into the keystone jack to match the color code marked on it (T568A or T568B standards). Punch down the cables to keystone jacks (or patch panel) with a punch-down tool. After you have all the cables connected, you can click the jacks into the wall plates. At last, fix the wall plate on the wall with supplied screws. You can refer to the video below for more details.
-
Test Your Wired Home Network
Once all cables are wired, test the network with a network cable tester. If LEDs on the tester light up, it means the Ethernet plug is connected correctly. On the contrary, Ethernet plug is not connected right and you should check the Ethernet plug. After everything is prepared well, you can connect to the network.
Summary
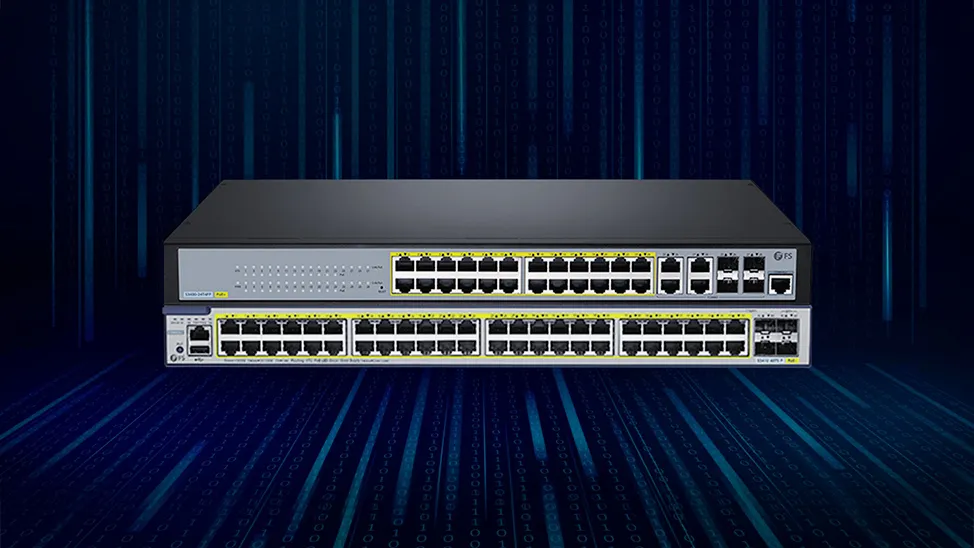
Making your own home network wiring system may be simpler than you think. This article talks about detailed steps of home Ethernet wiring. FS provides cat5e, cat6, and cat6a Ethernet cables with many color and length options. The snagless boot design prevents unwanted cable snags during installation and provides extra strain relief. Besides, custom service is also available. For more details, welcome to visit www.fs.com.


Email Address


PoE vs PoE+ vs PoE++ Switch: How to Choose?
May 30, 2024


-